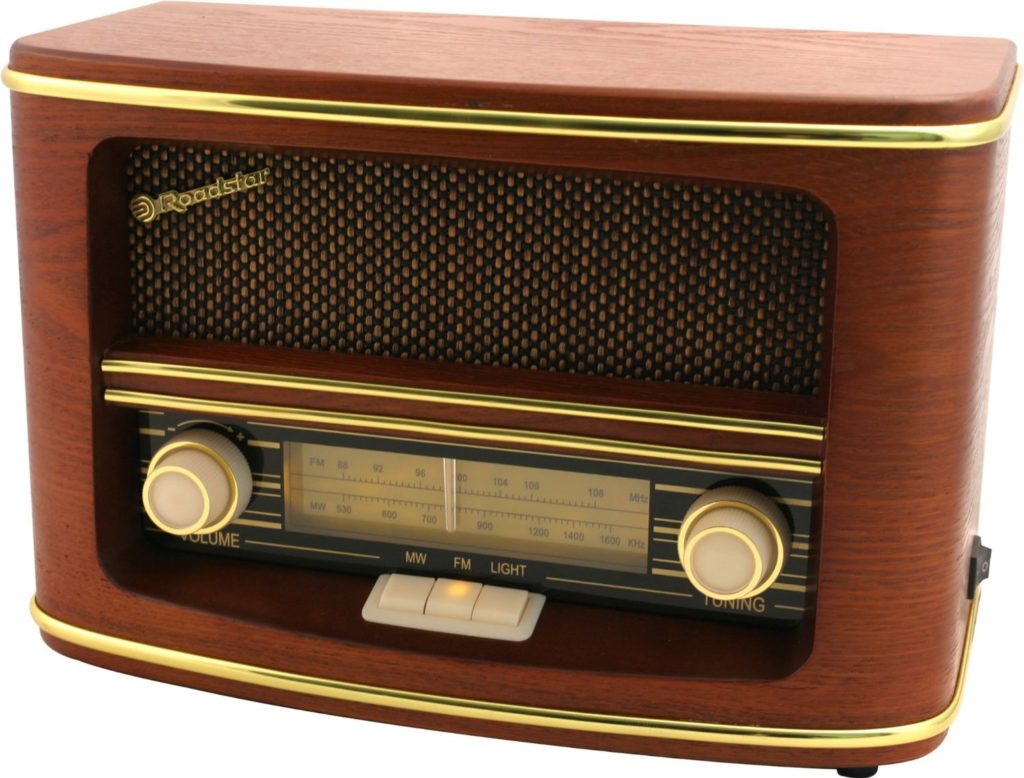
The Raspberry Pi can be used pretty much for any conceivable application – as well as a radio transmitter. Frequencies from 1Mhz to 250Mhz can be used, including the usual radio frequencies between 88 and 108Mhz.
Depending on the position and antenna, the signal can be transmitted up to 100 meters.
In this tutorial, I will show what you need for it and how to set up the radio station on the Raspberry Pi.
Required Hardware Parts
I have used the following hardware parts:
- Raspberry Pi 3
- USB sound card
- Jumper cable (possibly a stronger antenna, depending on the application)
Software
The basis is the library piFM. With this, it is possible to “misuse” GPIO 4 (pin 7) of the Raspberry as a transmitter. An antenna (either a real antenna or a simple wire) must be connected to it.
Firstly we load the software and compile it.
git clone https://github.com/rm-hull/pifm && cd pifm
make
Now that you’ve connected the antenna to pin 7 (the 4th pin from the top of the inner side), you’re ready to go. To do this, piFM must be started as root and a file specified (.wav format) to be played. In addition, the transmission frequency can be specified optimally (standard 103.3Mhz) and the audio sampling rate (in Hz).
An example call would be the following:
sudo ./pifm sounds/star-wars.wav 103.3 22050 stereo
Now, if you are looking for this frequency on your radio, you should hear the Star Wars melody and the previous noise should stop. At the end of the song, it will be played again from the beginning.
In addition, the library can be easily integrated into Python:
|
1 2 |
import PiFM PiFm.play_sound("path/sound.wav") |
Live speaking
More interesting than just playing music is probably the opportunity to speak live. This is relatively easily possible with arecord. All you need to do is connect a microphone via the USB sound card.
Here we start a recording and pass it directly as input for piFM via pipeline:
arecord -f S16_LE -r 22050 -twav -D plughw:0,0 - | sudo ./pifm -
These arecord parameters worked best for me. If you are getting only bad sound, you would have to adjust the parameters if necessary. Instead of plughw:0,0 it can also be plughw:1,0. That’s why it’s the best to call
amixer
The connected audio devices should be displayed.
During testing, I have noticed that no signal was sent after I wanted to listen to my recording via aplay. The same thing can happen if the default audio settings have been changed (/etc/modprobe.d/alsa-base.conf). In this case, the settings should be reset (if changed) and restarted. If the problem persists sudo apt-get update && sudo apt-get upgrade or a new Raspbian image will help. But as I said, usually just a reboot is enough.


7 Comments
Can I use this on Pinterest zero w?
Is there an AM version of this ? I really need a way to transmit a signal amplitude modulated for antique radio servicing.
It should be a lot simpler to do, but I don’t have the skills necessary to write the program .
Since the signal is FM, you only have to modulate the frequency (0 to 1 state of the gpio ) according to the audio file, for AM modulation the frequency is fixed but the amplitude is modulated by the audio, this is far more complex to achieve with the GPIO because the voltage must vary according to the audio. FM is more digital friendly
I tried this on my new Pi 4 and could not get it to work.
I back down and tried it on my Pi 3 and it worked easily.
I know that they made some changes to the GPIO pins for the Pi 4 and I assume this is the reason it does not work on the new hardware.
Is it possible to stream live audio and speak simultaneously with the above configuration? I want to give comments on the music when it plays or broadcast a news column in between songs.
Dear Sir,
I am trying to build an fm transmitter on RPi 4 using GPIO4 but I can’t get it to work for some reason. Honestly I managed to make it work on a RPi 3 (same software and setup) without any hitches.
Would appreciate any feedback please if possible.
Many thanks in anticipation.
Martin
is it possible to receive on the same or different pi