
Maybe some of you thought about how to let some RaspberryPi’s communicate with each other wirelessly. For this purpose small 433MHz modules are ideal, which are already available for a few bucks.
Therefore in this tutorial I want to show how two (or more) RaspberryPi’s can “talk” with each other. But do not worry, if you have only one Raspberry Pi, you can do it also.
Hardware
- 2 Raspberry Pi’s (at a pinch only one will do)
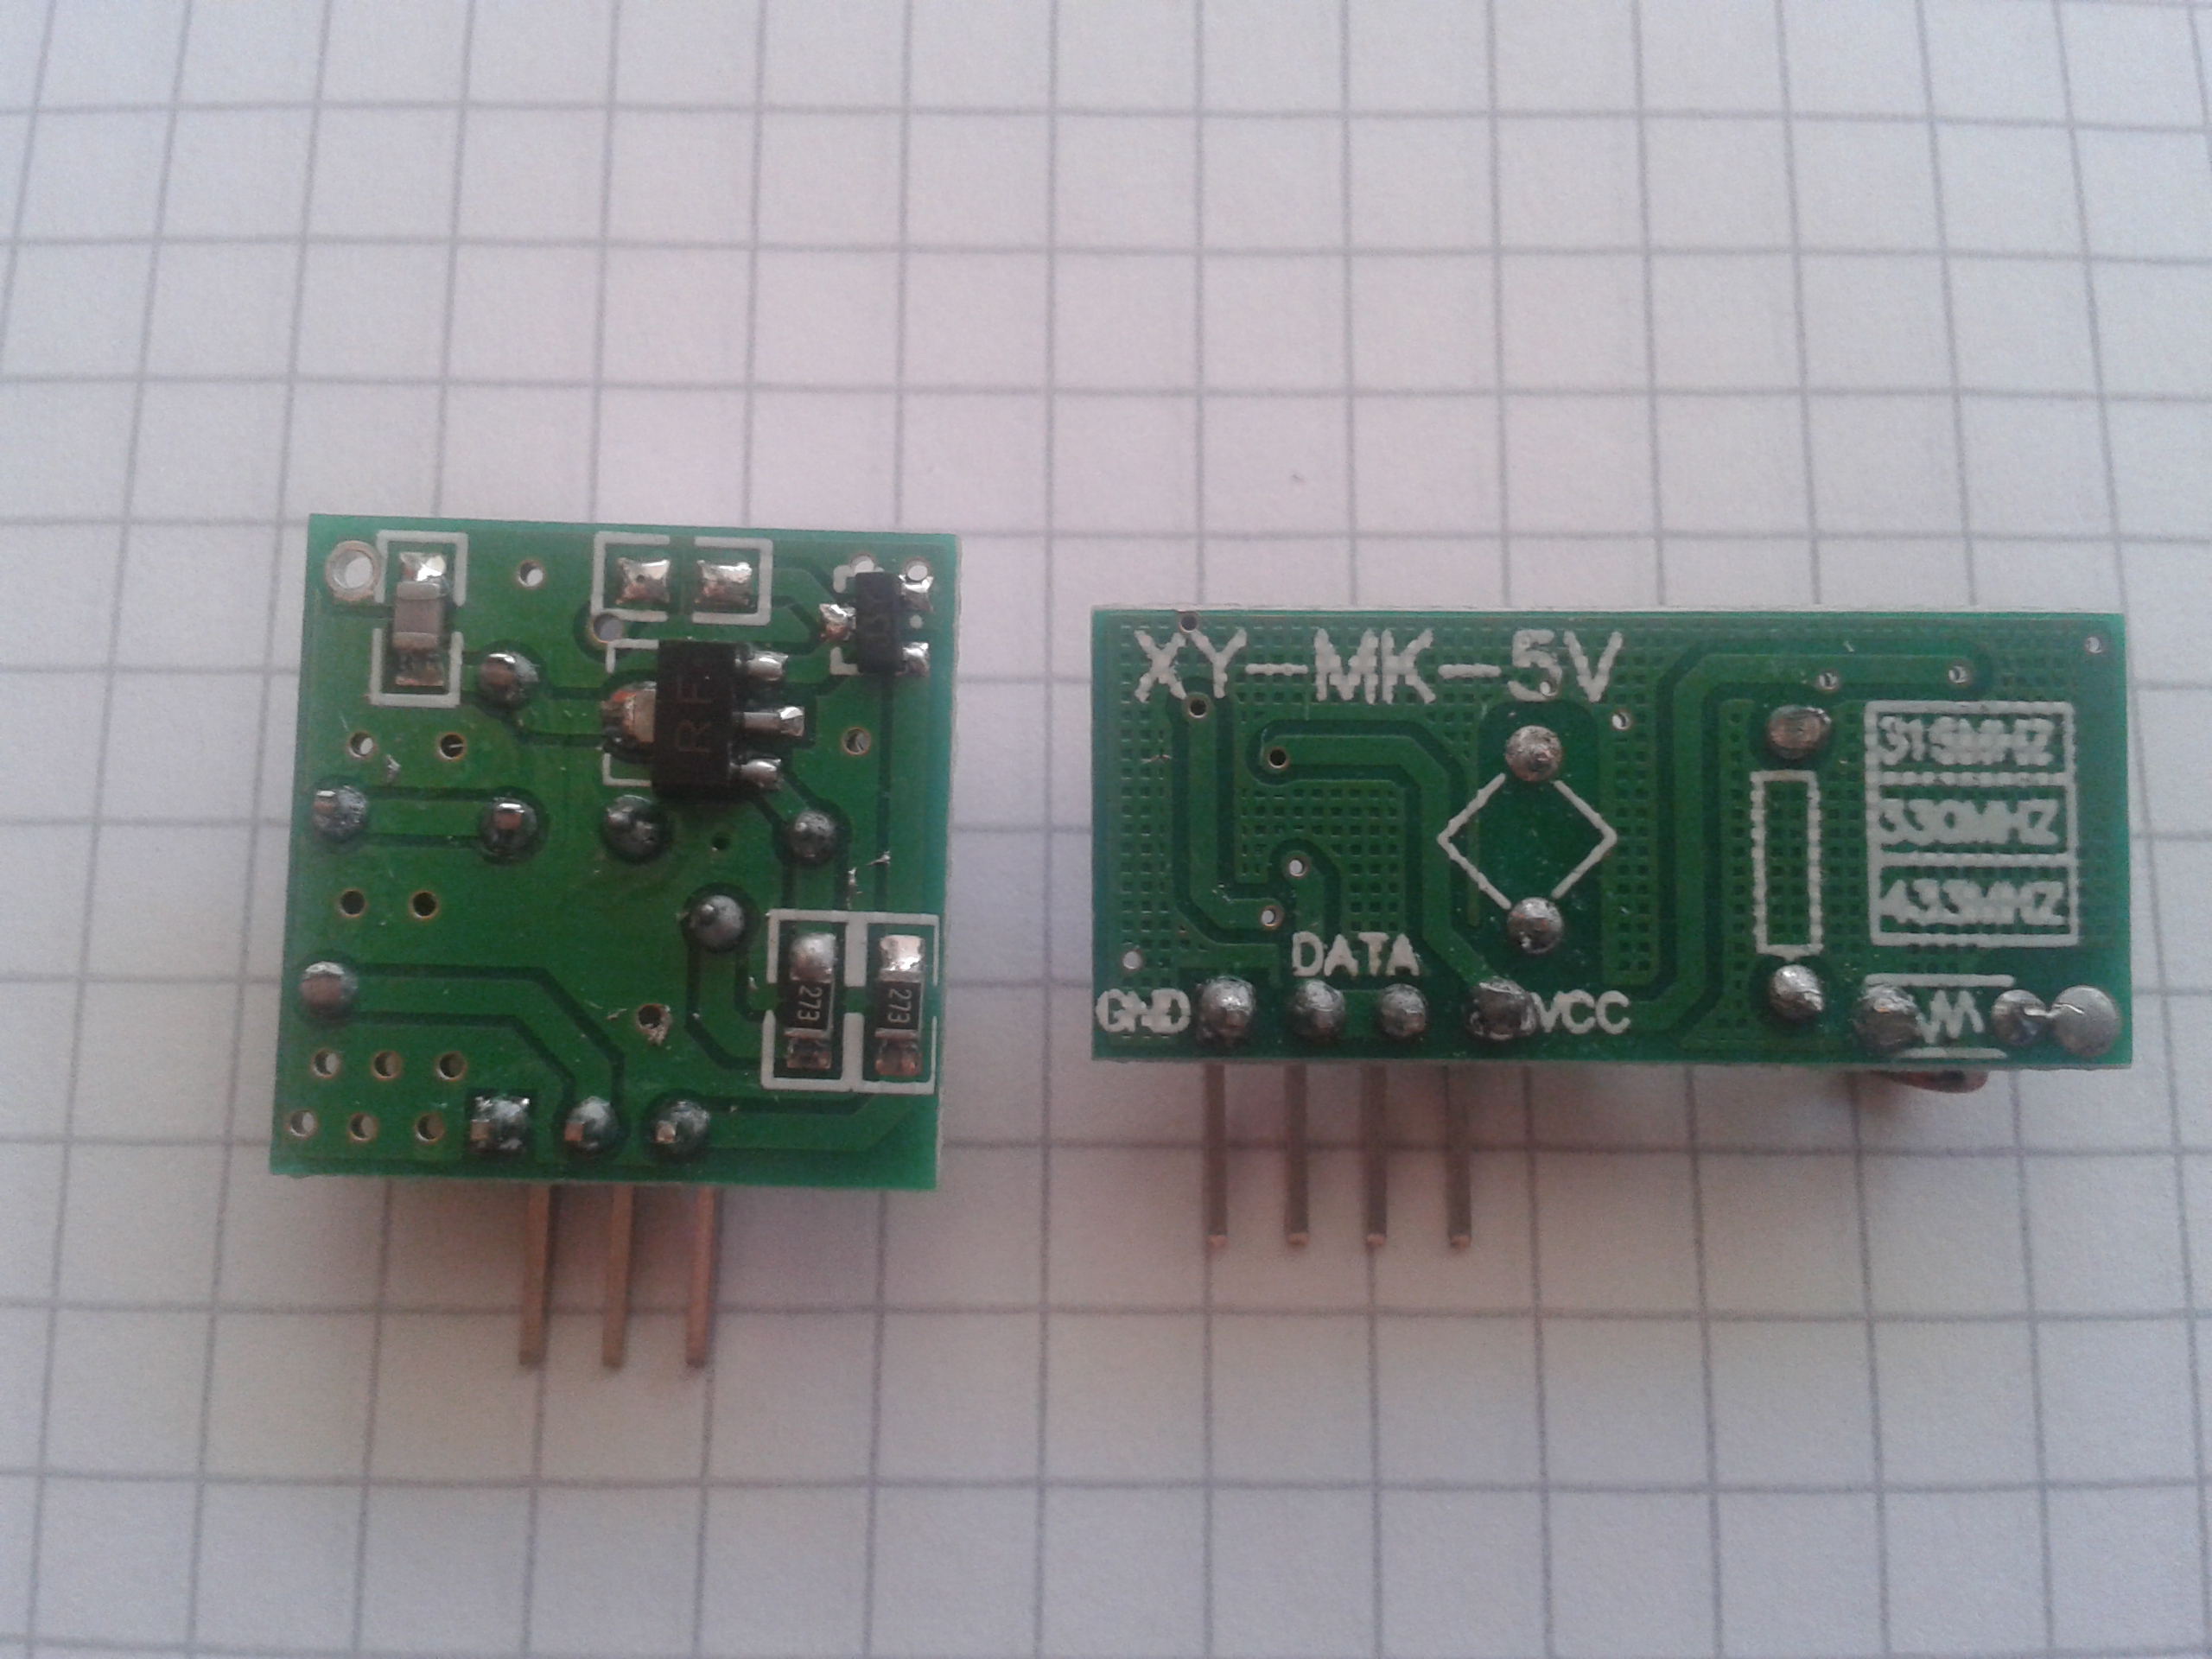
- 433 MHz Transmitter-Receiver Set (US / UK), if both Pi’s should send and receive you need 2 sets
- Female – Female jumper wires (US / UK)
- Breadboard (US / UK)
Assembling
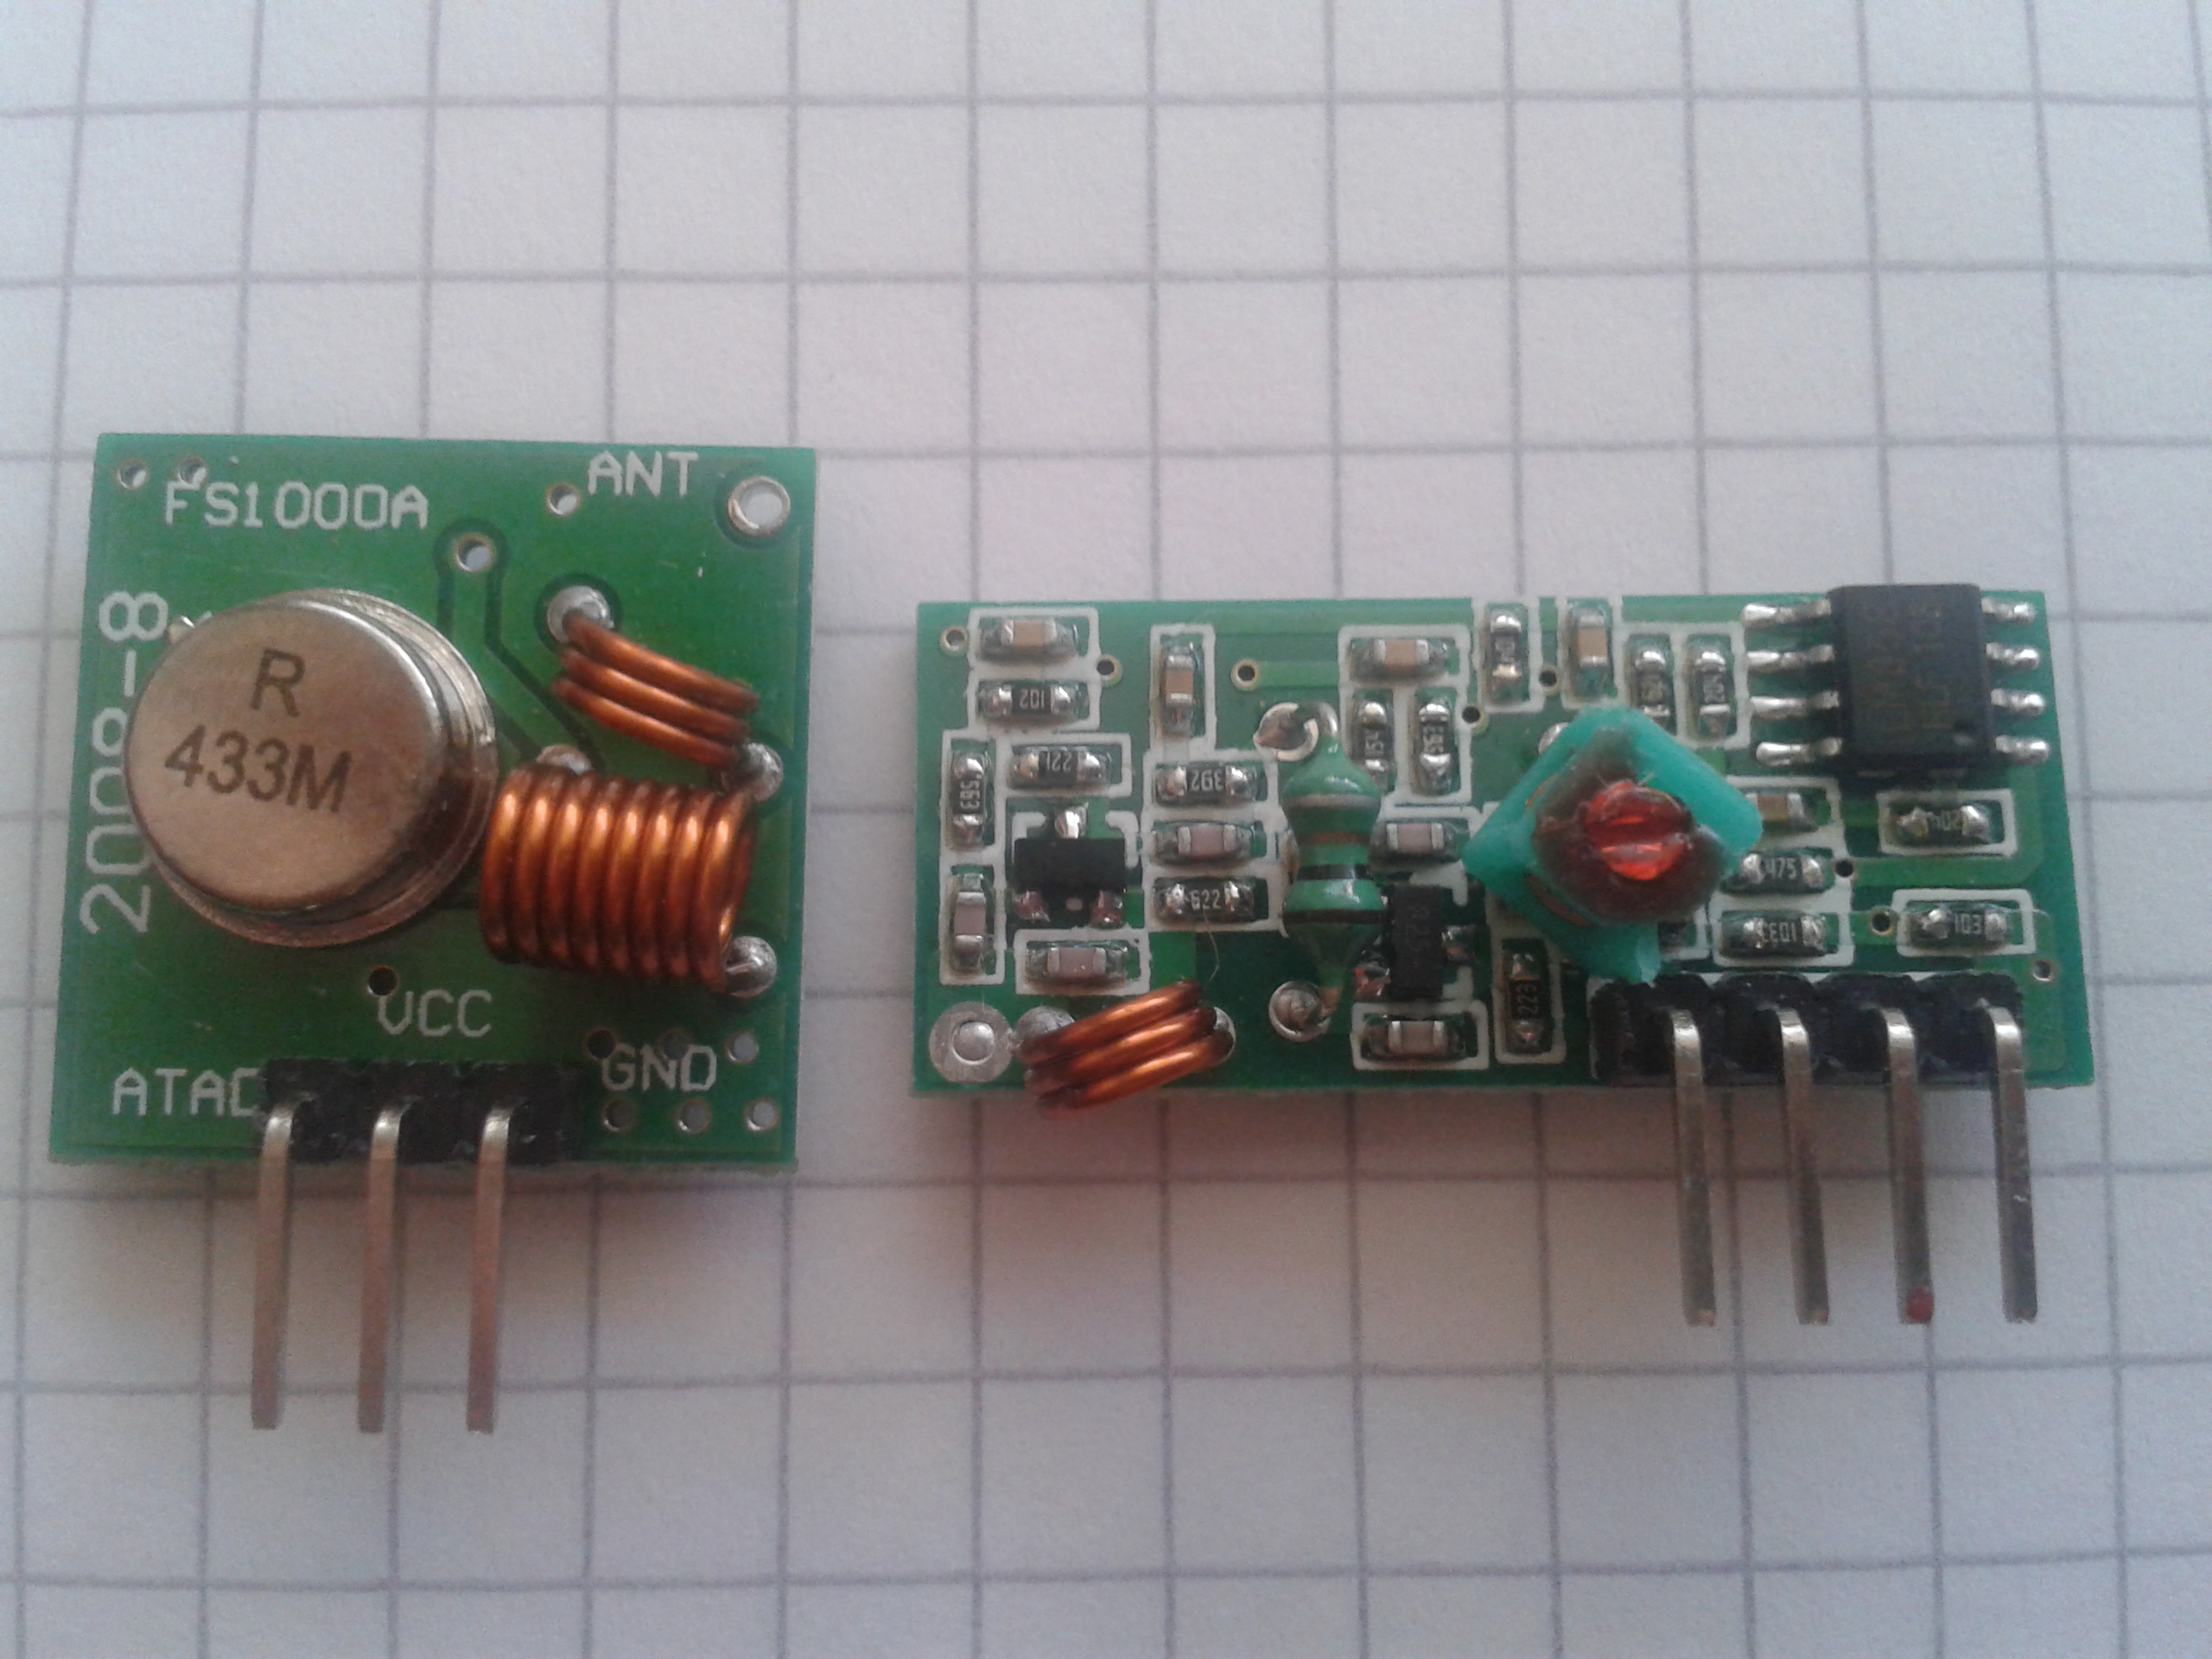
| RaspberryPi | Transmitter | Receiver |
|---|---|---|
| Pin 2 (5V) | VCC | VCC |
| Pin 6 (GND) | GND | GND |
| Pin 11 (GPIO17) – RPi Nr.1 | ATAD | —- |
| Pin 13 (GPIO27) – RPi Nr.2 | —- | DATA (to the left of GND) |
Preparation
Before we can test the actual software, we need a few libraries. Theses must be installed on all Pi’s that are communicating.
First of all wiringPi is required. If yave you already installed this previously, you can jump to the next installation (if the command gpio -v returns a result, it is installed).
First, we update the packages. This may take several minutes.
sudo apt-get install git-core
sudo apt-get update
sudo apt-get upgrade
Then we clone wiringPi (git must be installed) and install it.
git clone git://git.drogon.net/wiringPi && cd wiringPi &&./build
Now gpio readall should show the pin allocation.
We need a library that simply allows us to send our data via the transmitter and receive it through the receiver module.
git clone https://github.com/ninjablocks/433Utils.git
This library contains corresponding scripts for both Arduino and Raspberry Pi. Now we go to the folder containing the scripts for the Raspberry Pi and compile them.
cd 433Utils/RPi_utils
make all
Testing
sudo ./RFSniffer
As soon as a code is received, it will appear here.
Next, we want to send. For this we go to the other Raspberry and run the following command (if you have only one Pi, just open a second shell window, eg by using putty).
sudo ./codesend 1234
The sent number you can enter by yourself. E.g. by using ASCII numbers, a text can be send.
Have fun trying!
17 Comments
Hi,
Don’t forget to put
--recursivewhen cloning 433UtilsUse as below:
I hope this helps
hello!
I would like to know which raspberry pi version you used . I’m stuck at not receiving and signal using ./RFSniffer.
Isn’t supposed that you would fry your Pi if connecting the receiver (5v) to your GPIO pin (3.3v) without a divider?
The module has resitors on board. You can measure the output voltage 🙂
it does not work
can i add a log to trace my error?
If you are having issues take a look at my post on the subject which has links to a toolkit which should help https://danicymru.wordpress.com/2016/12/15/433mhz-rf-nexa-sockets-and-the-blyss-wireless-doorbell/
Looking to do this as a project for high school kids. They are new to the Raspberry Pi. Can you provide more details? How do the female jump wires and breadboard fit in? Are there instructions for connecting them?
Connecting them is really straight-forward, there is not much that can be done wrong.
when I try to compile the code I just get an error that reads:
“*** no rule to make target ‘…/rc-switch/RCSwitch.o’, needed by ‘send’. stop.
what am I doing wrong?
Thanks in advance, James
Hey James,
Can you be more specific on what part you are stuck on? If its compiling 433Utils you made sure its inside wiringPi directory right?
To solve this, use Alper’s git command instead to ensure that rc_switch is pulled down with the clone
Per Alper:
~/ git clone –recursive https://github.com/ninjablocks/433Utils.git
What kind of distance can one achieve between units?
I can´t compile One who knows why.
make: *** Ingen regel för att skapa målet ”../rc-switch/RCSwitch.o”, som behövs av ”send”. Stannar.
WBR
Jörg
Hi
How do I get in touch between raspberry pi and Arduino using the lora Module?
Is something like this possible between two RasPi-Zero-W over WiFi or Bluetooth, effectively being able to dispense with a USB cable between a computer & USB gadget?
Can someone kindly point me to an arduino sketch for receiving? I’m having a lot of difficulty getting an arduino to pick up on the signals sent by the raspberry pi.